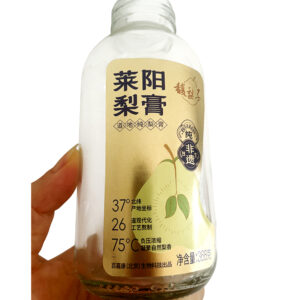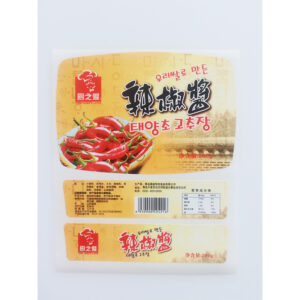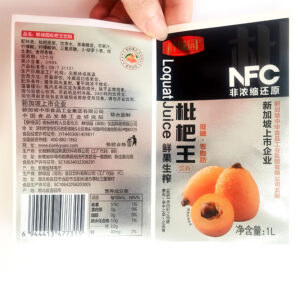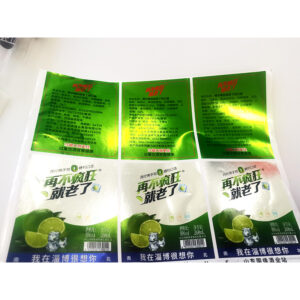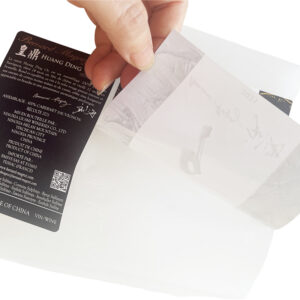
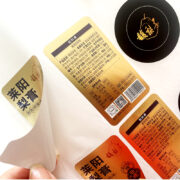
How much do custom stickers cost?
If you are planning to order custom stickers for product packaging, branding, security, wine bottles, retail products, or industrial applications, one of the first questions is simple: how much do custom stickers cost?
The answer depends on several factors, including sticker material, size, order quantity, printing method, adhesive, finishing, and application. A basic security label may cost only a few cents per piece, while decorative or multi-layer stickers require more materials and production processes.
For B2B buyers, the custom stickers cost is also strongly influenced by order volume. Buying directly from a manufacturer can significantly reduce the unit price compared with small-quantity retail orders.
Based on actual custom sticker factory pricing, standard custom label and sticker products can range from approximately $0.015 to $0.298 per piece, depending on the product type and specifications.
| Custom Sticker / Label Type | Factory Price Range |
|---|---|
| Security Labels | $0.015–$0.030/pc |
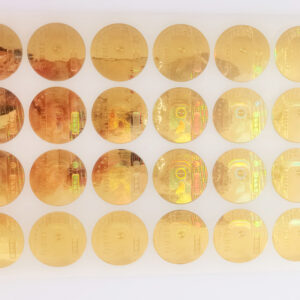
| Dome Labels | $0.030–$0.074/pc |
| RFID Tags | $0.060–$0.119/pc |
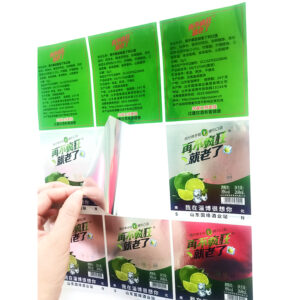
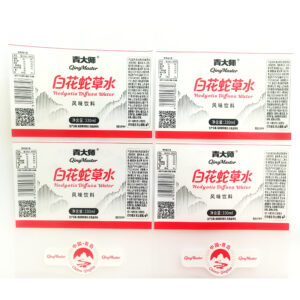
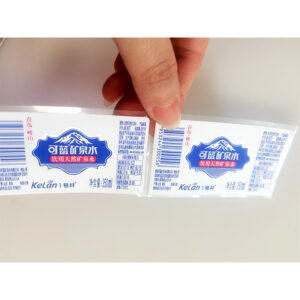
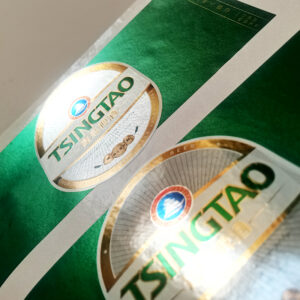
| Wine & Beverage Labels | $0.089–$0.179/pc |
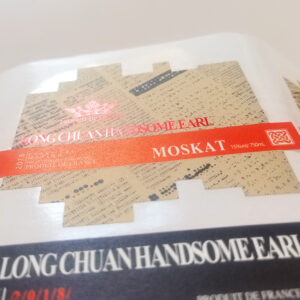
| Multi-Layer Booklet Labels | $0.119–$0.223/pc |
| Decorative Labels | $0.179–$0.298/pc |
These prices are factory reference ranges, not universal fixed prices. The final quotation depends on the actual specifications, quantity, materials, printing requirements, finishing, and packaging.
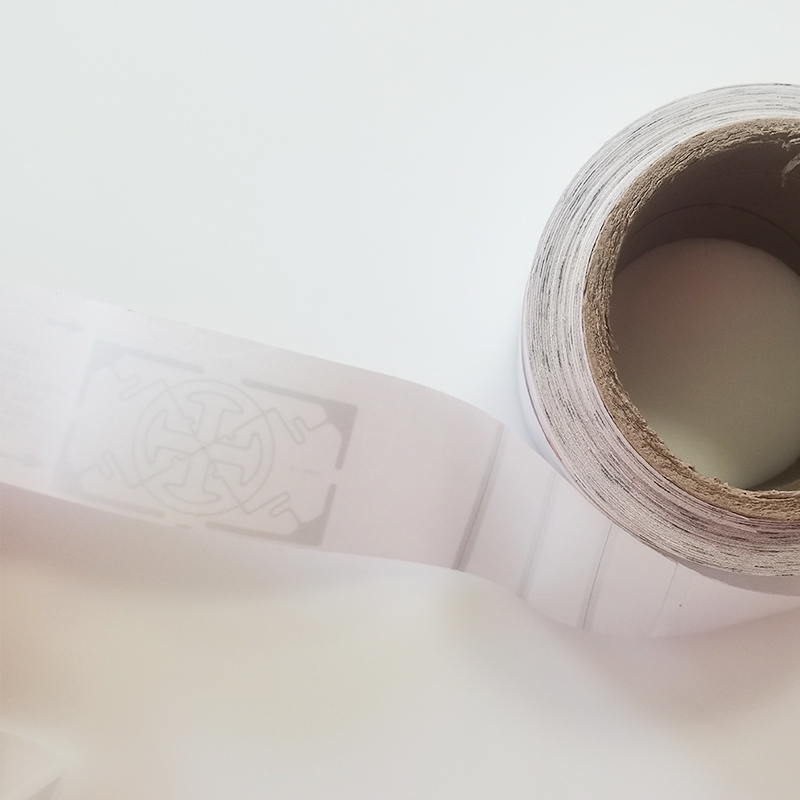
How Much Do Custom Stickers Cost?
For many B2B applications, custom stickers can cost anywhere from a few cents to several tenths of a dollar per piece.
However, comparing sticker prices only by the unit price can be misleading.
For example, a $0.02 security label and a $0.25 decorative label may look very different in price, but they are designed for completely different purposes.
A security label may require a relatively simple construction, while a premium decorative label may include multiple layers, specialty materials, metallic effects, embossing, foil stamping, or other finishing processes.
For this reason, the most useful way to evaluate custom sticker cost is to compare the following:
- Product type
- Material
- Sticker size
- Order quantity
- Printing method
- Adhesive
- Surface finishing
- Application environment
- Packaging requirements
The right question is not simply “What is the cheapest sticker price?” but rather “What sticker construction provides the required performance at the lowest practical cost?”
Custom Stickers Cost: Factory Price Examples
The following table provides a useful starting point for B2B buyers.
| Product | Price Range per Piece | Typical Application |
|---|---|---|
| Security Labels | $0.015–$0.030 | Anti-counterfeiting, tamper evidence |
| Dome Labels | $0.030–$0.074 | Branding, equipment, promotional products |
| RFID Tags | $0.060–$0.119 | Inventory, logistics, asset tracking |
| Wine & Beverage Labels | $0.089–$0.179 | Wine, beer, spirits, beverages |
| Multi-Layer Booklet Labels | $0.119–$0.223 | Instructions, compliance, product information |
| Decorative Labels | $0.179–$0.298 | Premium packaging and branding |
These figures demonstrate why sticker costs cannot be represented by a single number.
A buyer ordering 50,000 security labels has a completely different cost structure from a brand ordering 5,000 premium decorative labels.
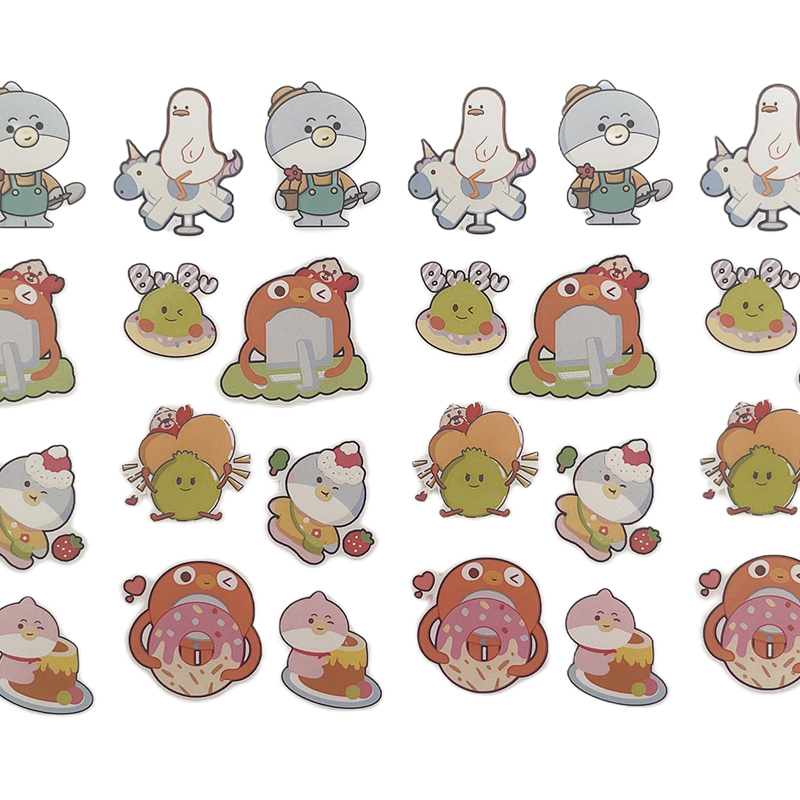
What Factors Affect Custom Stickers Cost?
Several variables determine the final custom sticker price.
Understanding these factors can help buyers control costs without compromising product performance.
Sticker Size
Size is one of the most straightforward cost factors.
A small 30 × 30 mm sticker uses less material than a 100 × 100 mm sticker. Larger labels also consume more printing and coating resources.
For high-volume orders, even a small difference in material consumption can noticeably affect the total project cost.
When designing a custom sticker, consider whether the artwork and required information can fit into a smaller standardized size.
Material
Material selection has a direct influence on custom stickers pricing.
Common materials include:
- Paper
- PP
- PE
- PET
- PVC
- Synthetic paper
- Transparent film
- Metallic materials
- Holographic materials
Paper is often suitable for basic indoor applications, while synthetic materials are better for applications that require moisture, abrasion, or environmental resistance.
Premium materials can increase the sticker’s price, but they may also provide better durability and appearance.
Order Quantity
Quantity is one of the most important factors for B2B buyers.
A small order may have a relatively high unit price because production setup, material preparation, die cutting, printing setup, and packaging costs are distributed across fewer pieces.
As the quantity increases, these fixed costs are spread over more units.
For example, a buyer should request pricing at several quantities:
- 1,000 pcs
- 5,000 pcs
- 10,000 pcs
- 50,000 pcs
- 100,000 pcs
This makes it easier to identify the most economical purchasing level.
Printing Method
The printing method also affects the final custom sticker cost.
Depending on the product, manufacturers may use:
- Digital printing
- Flexographic printing
- Offset printing
- Screen printing
Digital printing works well for shorter runs and variable designs, while high-volume production may benefit from more efficient industrial printing processes.
Sticker Shape
Standard rectangular or square stickers are generally straightforward to manufacture.
Custom die-cut stickers can have almost any shape, including:
- Logos
- Circles
- Ovals
- Product silhouettes
- Special promotional shapes
Complex shapes may require customized tooling or additional production processes, which can increase the overall price.
Adhesive
Adhesive is another important but often overlooked component of sticker pricing.
Different applications may require adhesives for:
- Glass
- Plastic
- Metal
- Cardboard
- Rough surfaces
- Removable applications
- Permanent applications
- Outdoor environments
Choosing the right adhesive matters more than choosing the cheapest one.
A low-cost sticker that falls off the product is not really a cost-saving solution.
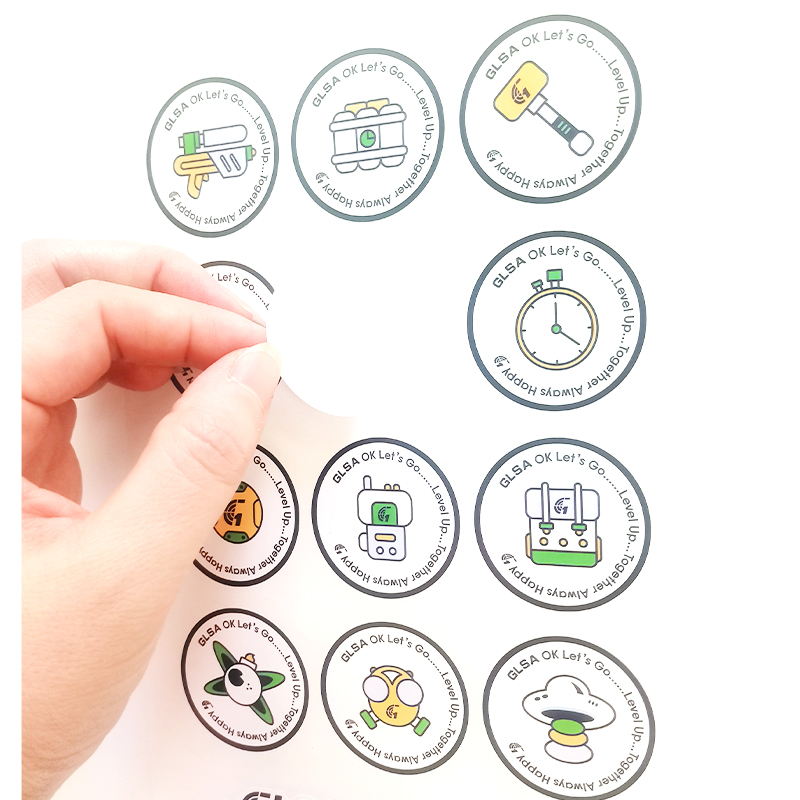
Custom Sticker Price by Product Type
Different sticker products serve different commercial purposes.
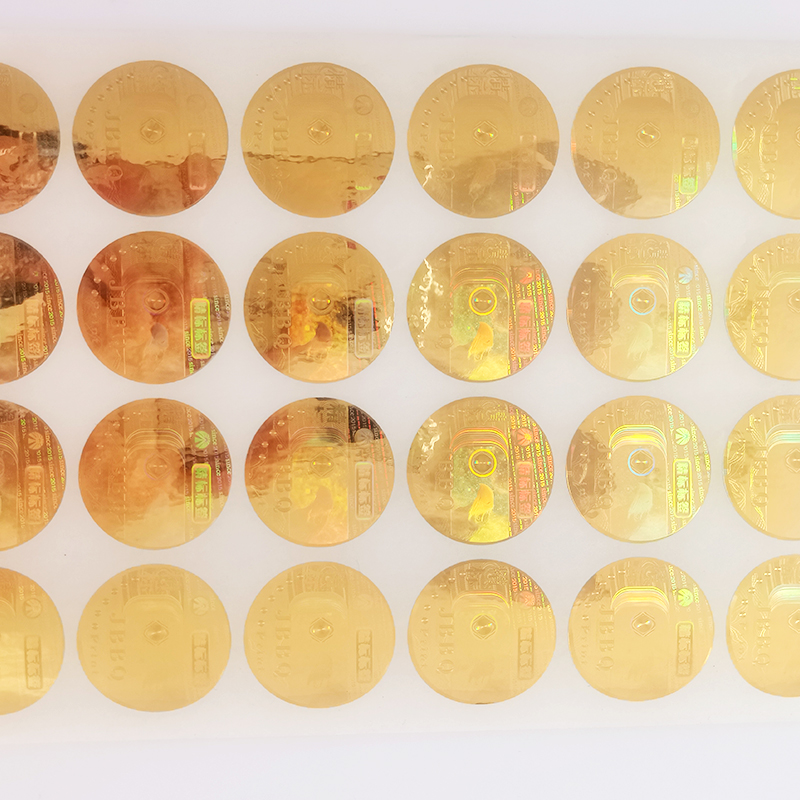
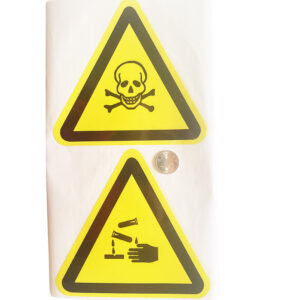
Security Labels
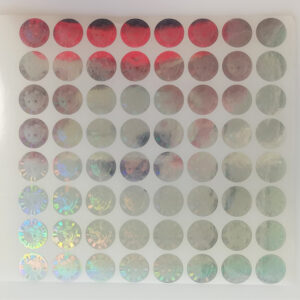
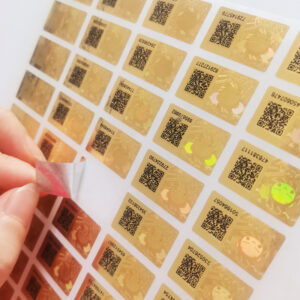
Security labels are among the most cost-effective specialized label solutions.
The factory reference price is approximately:
$0.015–$0.030 per piece
They can be used for:
- Tamper evidence
- Anti-counterfeiting
- Warranty protection
- Product authentication
- Asset protection
- Brand security
Because security labels can be produced at relatively low unit costs, they are suitable for large-volume product protection programs.
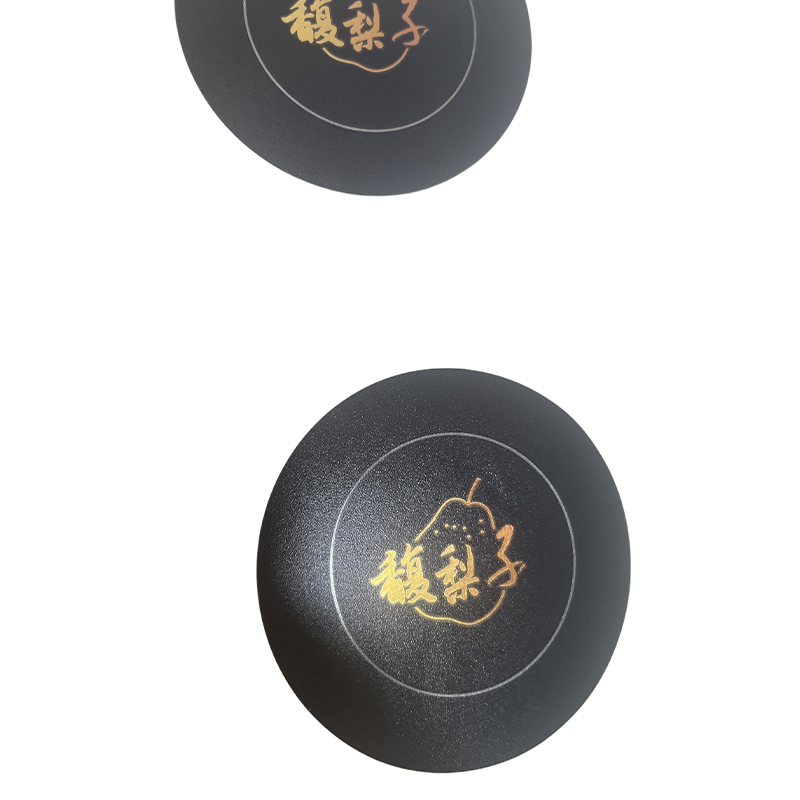
Dome Labels
Custom dome labels typically use a raised resin or epoxy layer to create a three-dimensional appearance.
Factory reference pricing:
$0.030–$0.074 per piece
They are commonly used for:
- Equipment branding
- Electronic products
- Promotional products
- Automotive components
- Machinery
- Corporate logos
The 3D surface provides additional visual impact compared with conventional flat stickers.
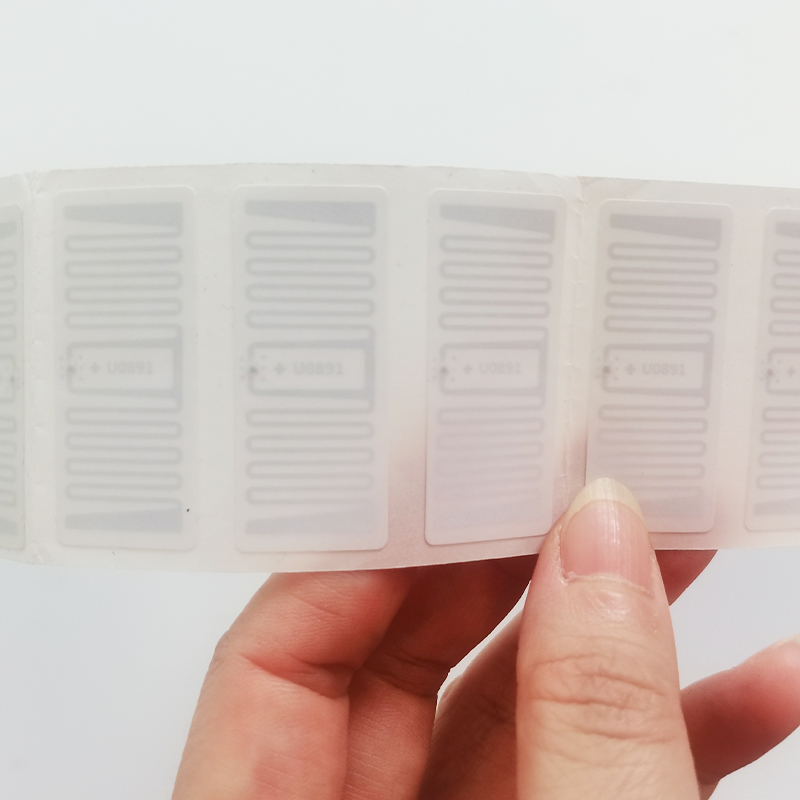
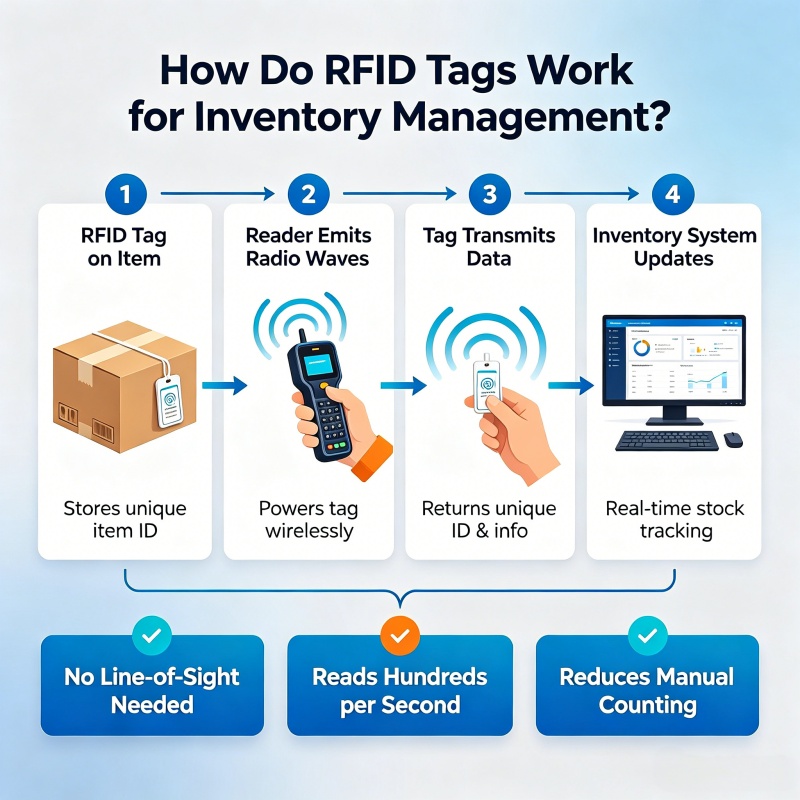
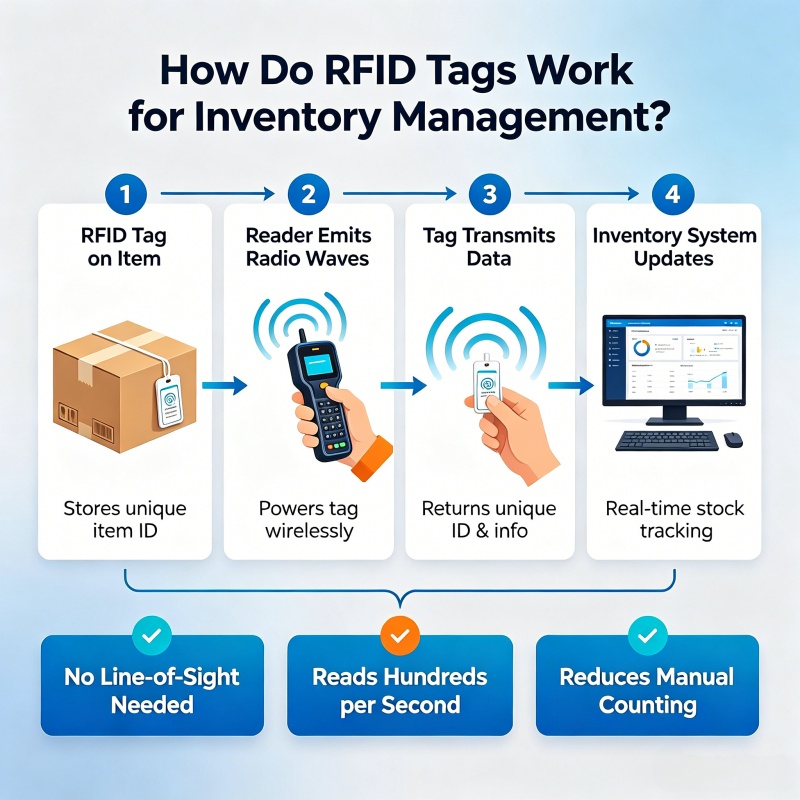
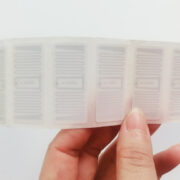
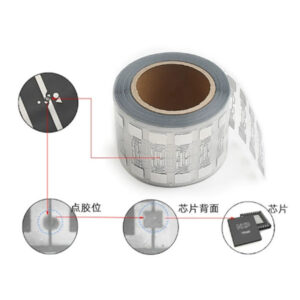
RFID Tags
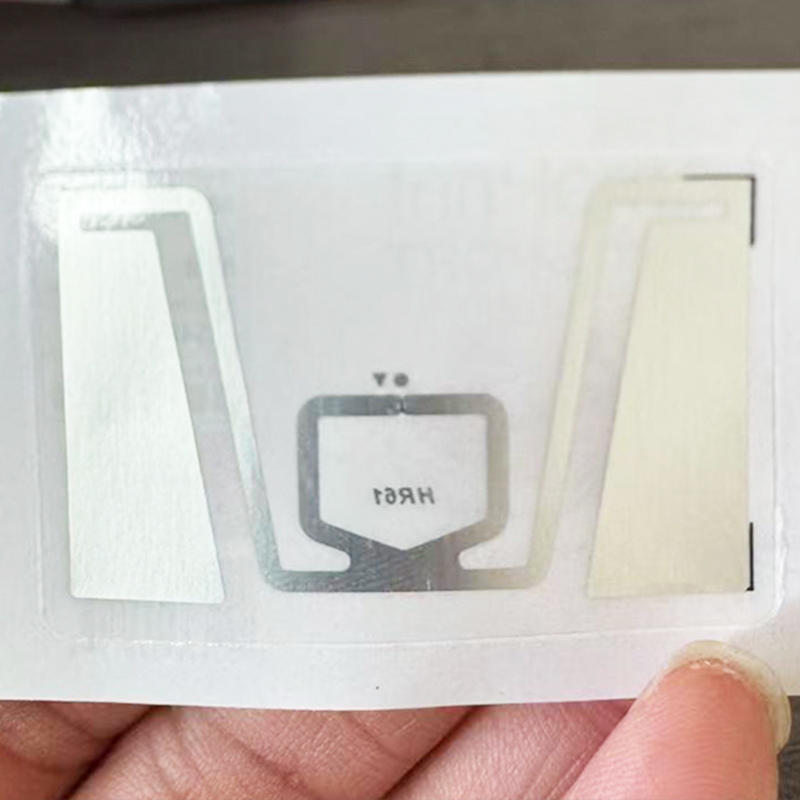
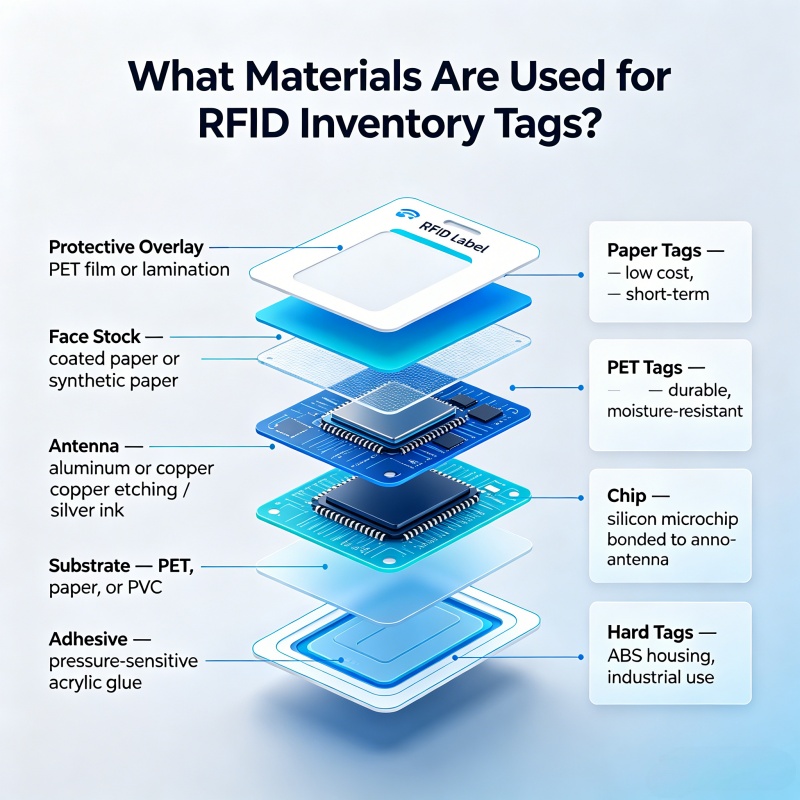
RFID tags combine a printed label or substrate with an RFID inlay.
Factory reference pricing:
$0.060–$0.119 per piece
Applications include:
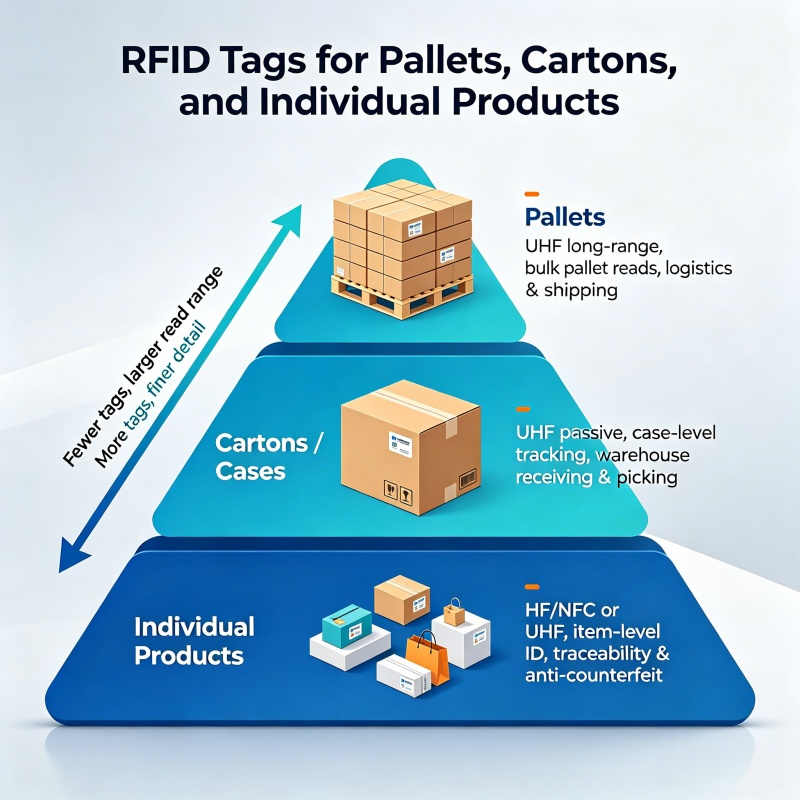
- Inventory management
- Warehouse tracking
- Asset identification
- Retail
- Logistics
- Supply-chain management
RFID tags generally cost more than basic printed stickers because they contain an RFID chip and antenna.
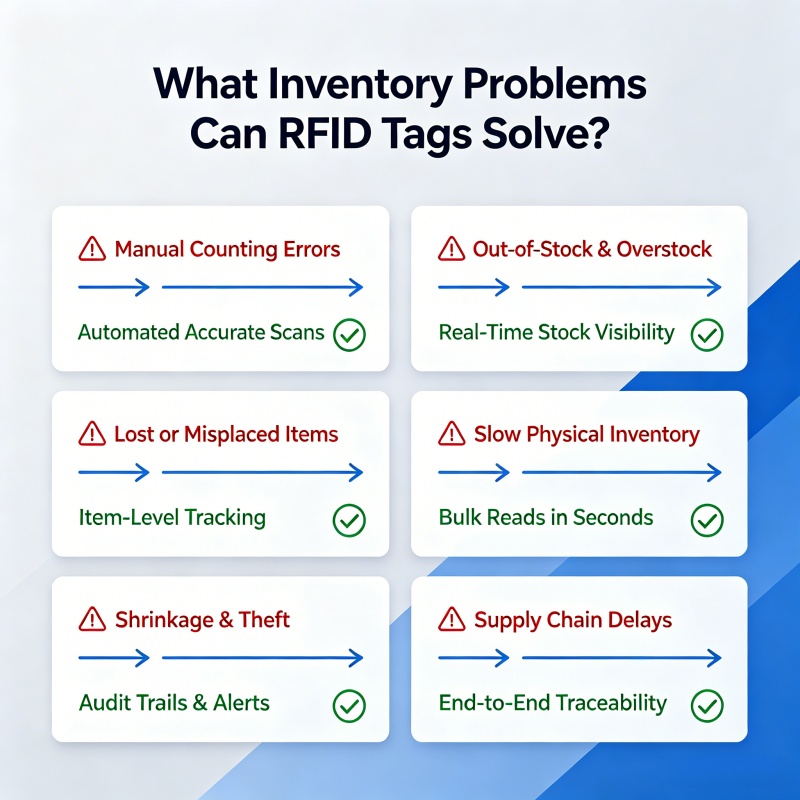
However, they can provide automated identification and tracking capabilities that conventional stickers cannot.
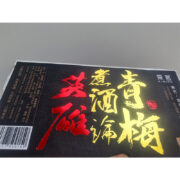
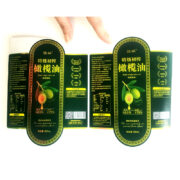
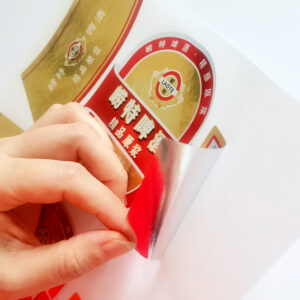
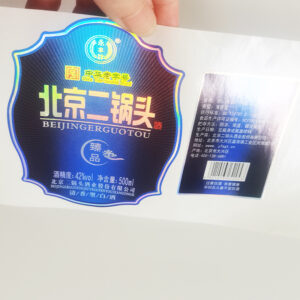
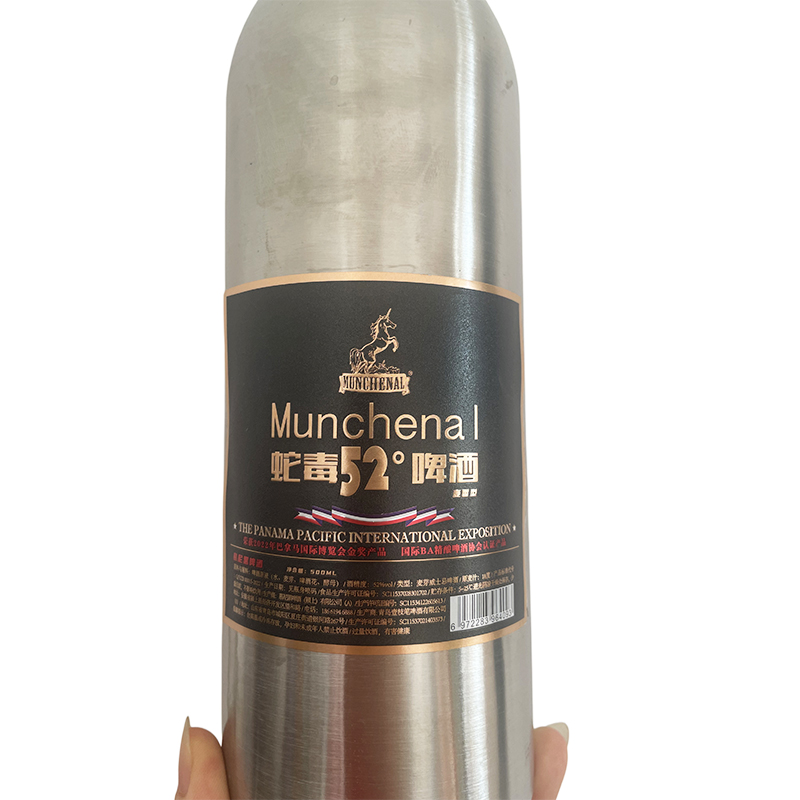
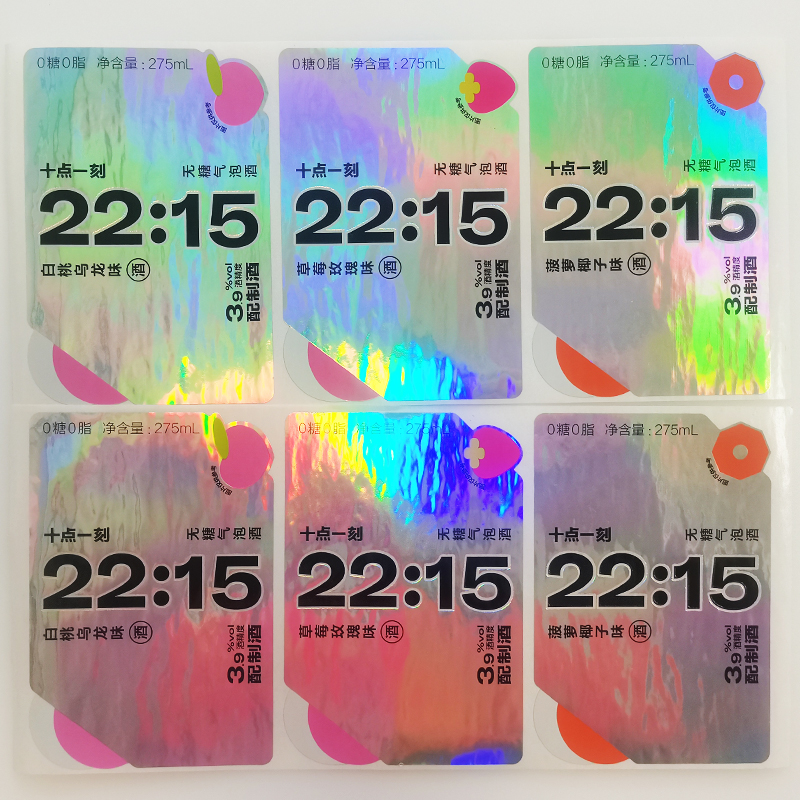
Wine & Beverage Labels
Wine and beverage labels typically require a stronger focus on appearance, adhesion, moisture resistance, and brand presentation.
Factory reference pricing:
$0.089–$0.179 per piece
They can be customized with:
- Premium papers
- Waterproof materials
- Foil stamping
- Embossing
- Metallic effects
- Matte finishes
- Glossy finishes
- Special adhesives
For wine and beverage brands, the label is not simply an identification tool. It is also an important part of the product’s visual identity.
Multi-Layer Booklet Labels
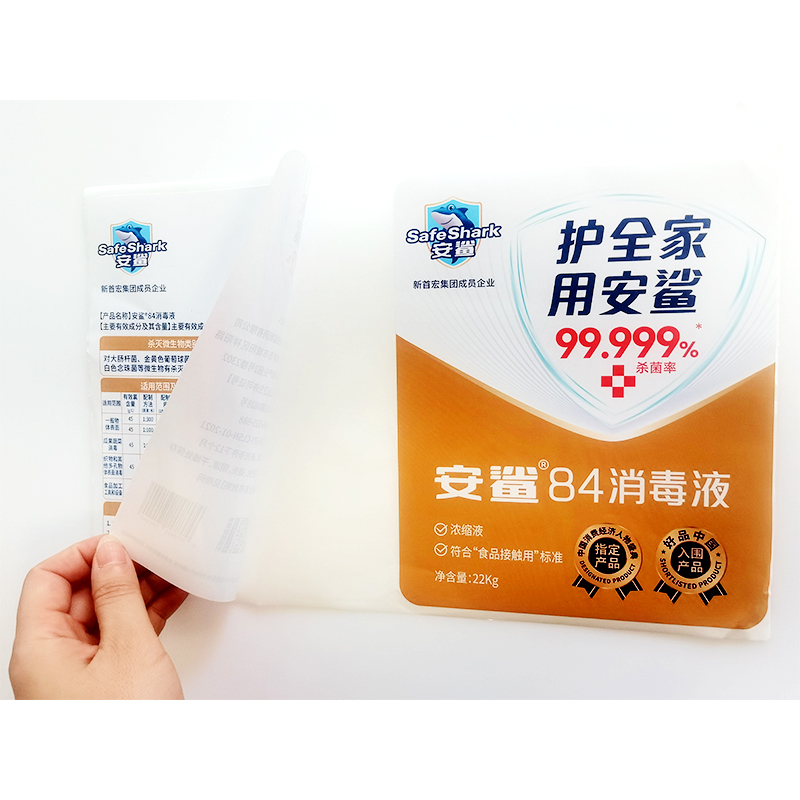
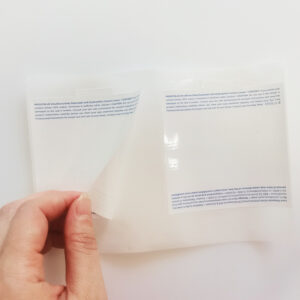
Multi-layer booklet labels provide substantially more printable space than conventional single-layer stickers.
Factory reference pricing:
$0.119–$0.223 per piece
They are suitable for products that need additional information, including:
- Instructions
- Warnings
- Ingredients
- Technical information
- Multilingual content
- Regulatory information
- Product usage instructions
Instead of increasing the physical packaging size, manufacturers can use multiple layers to place more information into a compact label.
Decorative Labels
Decorative labels generally sit toward the higher end of the factory price range.
Reference pricing:
$0.179–$0.298 per piece
Applications include:
- Premium packaging
- Cosmetics
- Luxury products
- Gift packaging
- Food and beverages
- Brand promotion
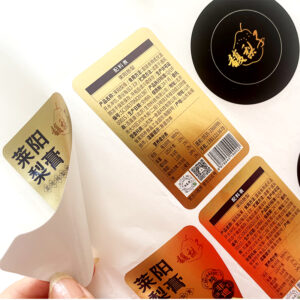
Decorative labels may include multiple finishing techniques, specialty papers, metallic effects, embossing, foil stamping, or other visual treatments.
The higher stickers price is therefore associated with a more complex construction and stronger visual impact.
How Much Do 100 Custom Stickers Cost?
Small quantities generally have a higher unit cost.
For example, ordering only 100 pieces may involve:
- Setup costs
- Material preparation
- Cutting setup
- Printing setup
- Packaging
- Handling
For this reason, the price per sticker can be considerably higher than a large-volume order.
For businesses that need only a small quantity for testing, samples or prototypes may be more appropriate than production orders.
However, if you are purchasing for commercial production, requesting a larger quantity usually provides a much better unit price.
How Much Do 1,000 Custom Stickers Cost?
At 1,000 pieces, buyers can usually obtain more competitive manufacturing prices than at very small quantities.
The exact custom sticker cost depends heavily on the product.
For example:
- Basic security labels can remain very inexpensive.
- RFID tags cost more because of their electronic components.
- Decorative labels cost more because of specialty materials and finishing.
- Multi-layer booklet labels cost more because of their construction.
Instead of asking only for a 1,000-piece quotation, B2B buyers should ask suppliers to quote several quantity levels.
How Much Do 10,000 Custom Stickers Cost?
For commercial buyers, 10,000 pieces is a more meaningful production quantity.
At this volume, manufacturers can generally optimize:
- Material purchasing
- Printing
- Die cutting
- Production scheduling
- Packaging
This can reduce the average sticker cost per piece.
For example, a buyer may request:
1,000 / 5,000 / 10,000 / 50,000 pcs
This allows the purchasing team to see how the unit price changes with volume.
If the product will be reordered regularly, it can also be useful to calculate the expected annual quantity rather than evaluating only the first order.
Are Custom Stickers Cheaper in Bulk?
In most manufacturing situations, yes.
Bulk orders usually reduce the average production cost because fixed costs are distributed across a larger number of pieces.
For example, an illustrative pricing structure could look like:
| Quantity | Example Unit Price |
|---|---|
| 100 pcs | $0.40 |
| 1,000 pcs | $0.15 |
| 10,000 pcs | $0.07 |
| 50,000 pcs | $0.04 |
The actual figures vary by product, but the principle is important.
A buyer should not compare:
100-piece retail price vs. 50,000-piece factory price
as though they were equivalent.
They are two completely different purchasing models.
Custom Stickers Cost vs. Retail Sticker Prices
When researching stickers price, buyers may encounter prices from online marketplaces, local printing companies, and retail websites.
These prices can be significantly different from factory quotations.
A retail sticker price may include:
- Design services
- Platform fees
- Retail margins
- Small-order handling
- Packaging
- Shipping
A factory quotation is more directly related to:
- Raw materials
- Production
- Printing
- Finishing
- Packaging
- Order quantity
For B2B buyers ordering thousands or tens of thousands of pieces, purchasing directly from a manufacturer can therefore provide a more competitive cost structure.
How to Reduce Custom Stickers Cost
Reducing the custom stickers cost does not always mean selecting the cheapest material.
A better approach is to optimize the entire specification.
Choose the Right Material
Do not use a premium waterproof material for a simple indoor application if it provides no meaningful benefit.
Optimize the Size
Reducing unnecessary label dimensions can lower material consumption.
Order in Larger Quantities
Higher volumes generally provide better unit economics.
Simplify Finishing
Foil stamping, embossing, special coatings, and other processes can increase the price.
Use them when they contribute real value to the product.
Use Standard Shapes
Standard shapes can sometimes reduce tooling and production costs.
Select the Correct Adhesive
The right adhesive can reduce application failures, replacements, and waste.
Work Directly With a Manufacturer
Direct factory sourcing can reduce intermediary margins and make it easier to customize materials, sizes, printing, and finishing.
When choosing a supplier, you should choose a label factory directly. We offer complete design and production solutions, and our prices are highly competitive.
How to Get an Accurate Custom Sticker Price
If you want an accurate quotation, do not simply send a message saying:
“How much are custom stickers?”
A manufacturer needs enough information to calculate the actual production cost.
Provide:
- Sticker type
- Sticker size
- Quantity
- Material
- Shape
- Printing requirements
- Adhesive type
- Surface finish
- Application environment
- Packaging requirements
- Delivery destination
For example:
50 × 50 mm custom waterproof PP stickers, full-color printing, matte lamination, permanent adhesive, 10,000 pcs.
This specification allows the manufacturer to provide a much more meaningful custom sticker price.

Custom Stickers From a Direct Manufacturer
For brands, manufacturers, distributors, and purchasing companies, choosing a direct sticker manufacturer can simplify the entire sourcing process.
Perfect Label provides customized label and sticker manufacturing for different industries and applications.
Customization can include:
- Materials
- Sizes
- Shapes
- Adhesives
- Printing
- Surface finishes
- Foil stamping
- Embossing
- RFID integration
- Security features
- Multi-layer construction
- 3D dome effects
The factory can provide different solutions depending on whether the buyer needs a low-cost security label, a functional RFID tag, a premium wine label, a multi-layer booklet label, or a decorative packaging sticker.
The objective is not simply to achieve the lowest stickers cost.
It is to find the best combination of price, appearance, durability, functionality, and production volume.
Custom Stickers Cost: Which Product Is Right for Your Budget?
Your target price can help determine the appropriate sticker solution.
| Budget / Need | Recommended Solution |
|---|---|
| Lowest-cost product protection | Security Labels |
| 3D branding | Dome Labels |
| Inventory automation | RFID Tags |
| Premium beverage packaging | Wine & Beverage Labels |
| Large amounts of product information | Multi-Layer Booklet Labels |
| Premium visual packaging | Decorative Labels |
This approach makes it easier for buyers to match their budget with their actual application.
A low-cost sticker is not necessarily the best value, and an expensive sticker is not automatically better.
The best solution meets the application’s technical and branding requirements without adding unnecessary production costs.
FAQ
How much do custom stickers cost?
Custom sticker prices vary by product type, size, material, quantity, printing, adhesive, and finishing. Factory reference prices for common customized labels can range from about $0.015 to $0.298 per piece, depending on the product category and specifications.
What is the cheapest type of custom sticker?
Security labels can be among the lowest-cost specialized options, with a factory reference range of approximately $0.015–$0.030 per piece.
How much do RFID tags cost?
Based on factory reference pricing, RFID tags can cost approximately $0.060–$0.119 per piece, depending on the RFID chip, tag construction, size, printing, and order quantity.
Are custom stickers cheaper when ordered in bulk?
Usually, yes. Larger quantities allow manufacturers to spread setup, material, printing, and packaging costs over more units, reducing the average stickers cost per piece.
Does sticker size affect the price?
Yes. Larger stickers generally consume more material and may require more printing and finishing resources, increasing the overall production cost.
Are waterproof custom stickers more expensive?
They can be. Waterproof stickers may require synthetic materials such as PP, PET, or vinyl, together with waterproof adhesives and protective finishes.
Do special finishes increase custom sticker prices?
Yes. Foil stamping, embossing, lamination, UV effects, metallic finishes, and other specialty processes can increase the final custom stickers price.
How can I get the best custom sticker price?
Provide the manufacturer with the exact size, material, quantity, printing, adhesive, finishing, and application requirements. Request several quantity tiers to compare the unit price at different production volumes.
Is buying directly from a sticker manufacturer cheaper?
For larger B2B orders, direct factory sourcing can often provide a more competitive price structure by reducing intermediary costs. However, the final comparison should also consider quality, customization capability, production consistency, and delivery.
Final Thoughts: What Is a Reasonable Custom Stickers Cost?
There is no universal custom stickers cost because stickers are highly customizable products.
For reference, actual factory price ranges can start at approximately $0.015–$0.030 per piece for security labels and reach around $0.179–$0.298 per piece for decorative labels. RFID tags, dome labels, wine and beverage labels, and multi-layer booklet labels fall between these ranges depending on their construction.
The most important factors are:
Material + Size + Quantity + Printing + Adhesive + Finishing + Application
For B2B buyers, the best strategy is to define the required performance first and then optimize the specification around the target budget.
If you are sourcing custom stickers wholesale, do not compare suppliers based only on the lowest quoted unit price. Compare the complete solution, including material quality, adhesive performance, printing accuracy, finishing, customization capability, MOQ, production capacity, and delivery.
That is how you turn a low sticker price into a genuinely cost-effective labeling solution.

Jgs is a custom labeling professional with 15 years of industry experience in labeling solutions.